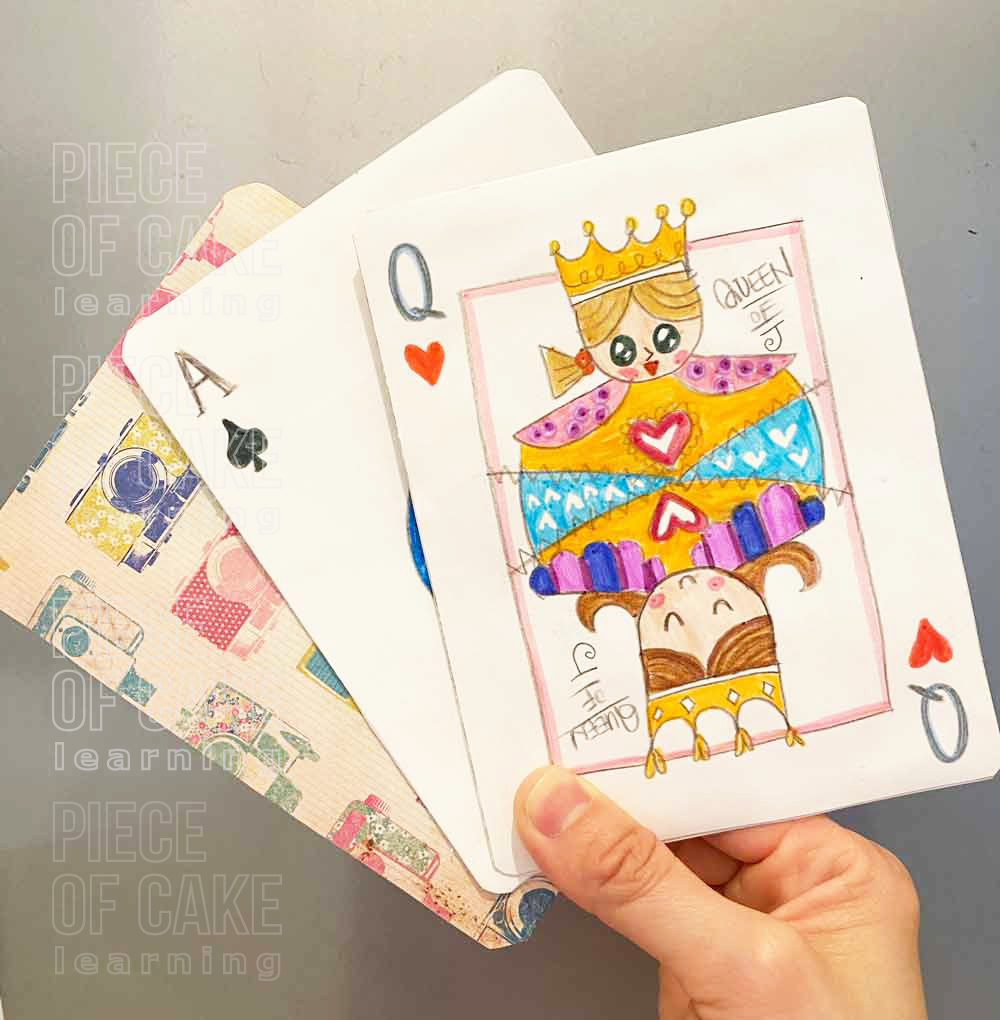
How many family members do you have? You could have custom family poker cards to play when deciding on family matters. If you cannot decide who is going to take out the trash this time. Flip a card to find out who will be “it”. You can even put your pet or your popular characters on the card. This is one of my students’ favorite projects. They have so much fun playing with their family when it was completed. Follow the steps to draw your own custom poker cards. It is a lot of fun!
Materials you need:
- Color pencils / pencils / erasers / markers
- White Multi-media paper (thicker the better)
- Pattern papers (Scrap book paper)
- Scissor
- Glue stick
- Print out the reference at the bottom of the page
#1. Cut the multi-media paper to make 4 rectangles. My paper is 9 x 12 in (22.9 cm x 30.5 cm). Each rectangle paper is about 4.56 in x 5.98 in (11.6 cm x 15.2 cm). The measurement does not have to be like mine. You can use whatever paper size you have and divide into four equal rectangles. The size I have is fairly large because I want my students to have enough room to draw details. The larger the paper, the more time required to finish the work. If you have young students, use smaller rectangles.

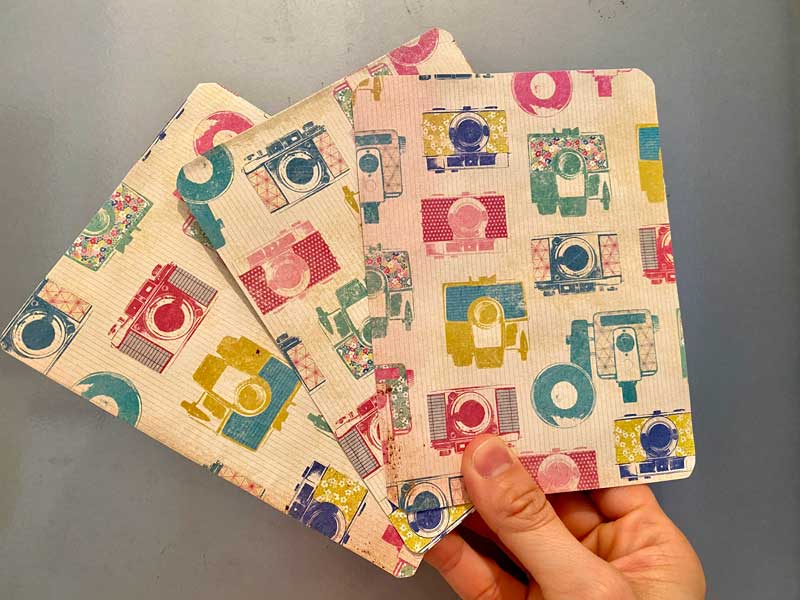
The front of the card is custom drawing and I glued a pattern paper behind. Pick a pattern paper that is the same for all the cards. Put the rectangles on the pattern paper and trace the shape. This way, you will know for sure those rectangles will match perfectly. DO NOT GLUE the papers together yet if you want the project to be perfectly clean. I cut the pattern papers first but glue last when the drawing is done.

#2. I explained to students that this project will be a mirror. The top half will be an emotion different from the bottom half. I have them first start with a king or queen. I drew a U shape on the top half for the face, and I turn the paper and draw another U shape on the bottom half. I tell them there is an invisible line in the middle, please do not draw beyond the invisible line in the middle when drawing your characters.
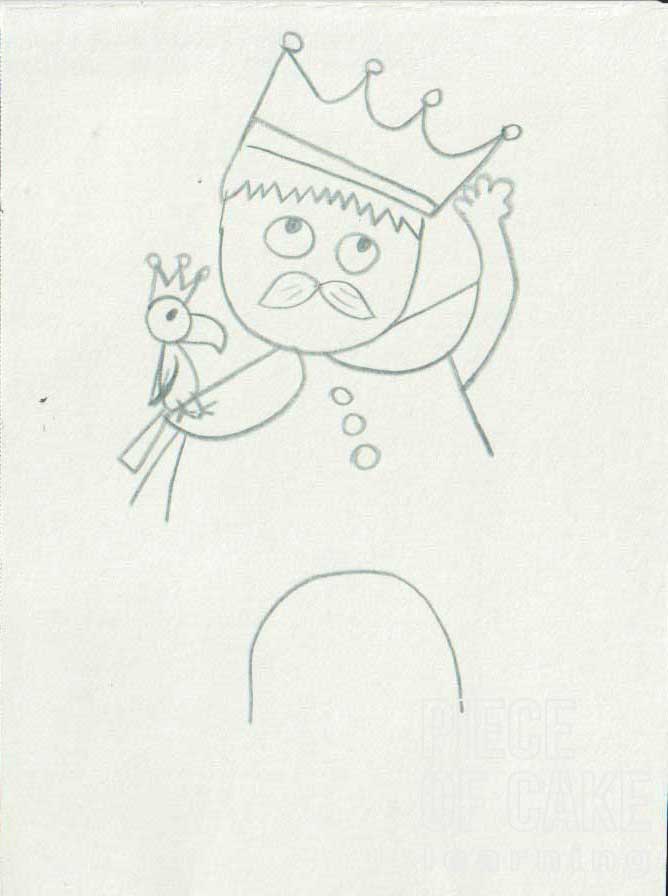
#3. I asked them to think about the pet on the king or queen’s shoulders. What type of Royal shoulder ornaments (also known as epaulette) does your king or queen have? Think about the designs on their Royal clothes. Once you are done with the king or queen on the top, flip the paper upside down to draw the exact same character with a different emotion, pet, and outfit. Have fun and be creative. Remember to make the the two images completely different for a good visual appel.
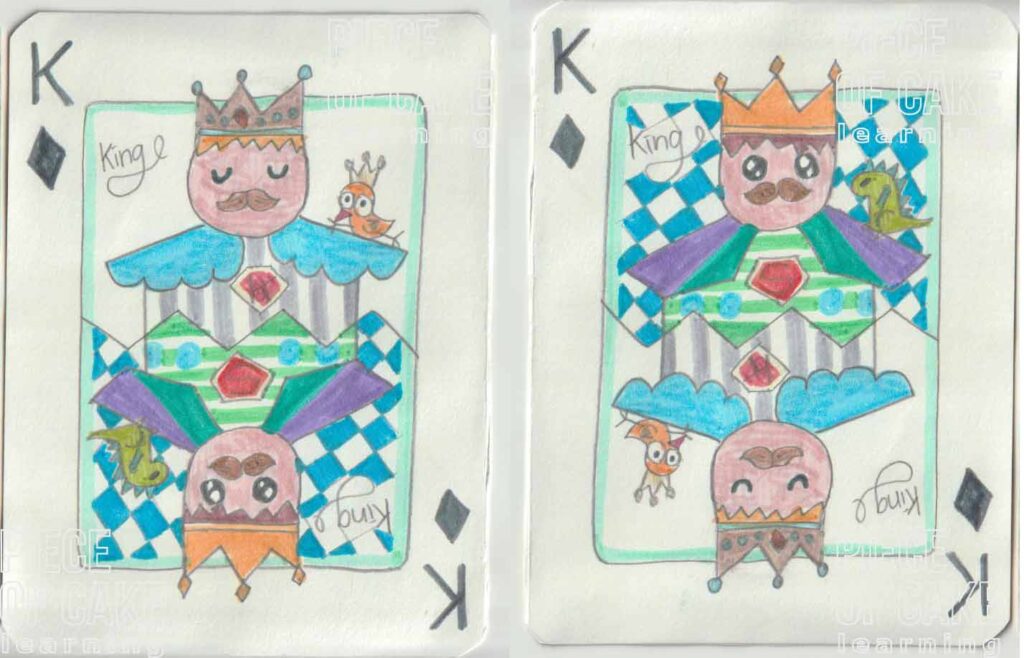
#4. After the characters are done. Draw a smaller frame around the king/queen. The frame should be smaller than the crown to make the character look like it is in front of the frame. Write fancy cursive letters for King and Queen.
#5. Write a K on the top left and bottom right corners for King. Write Q for a queen.

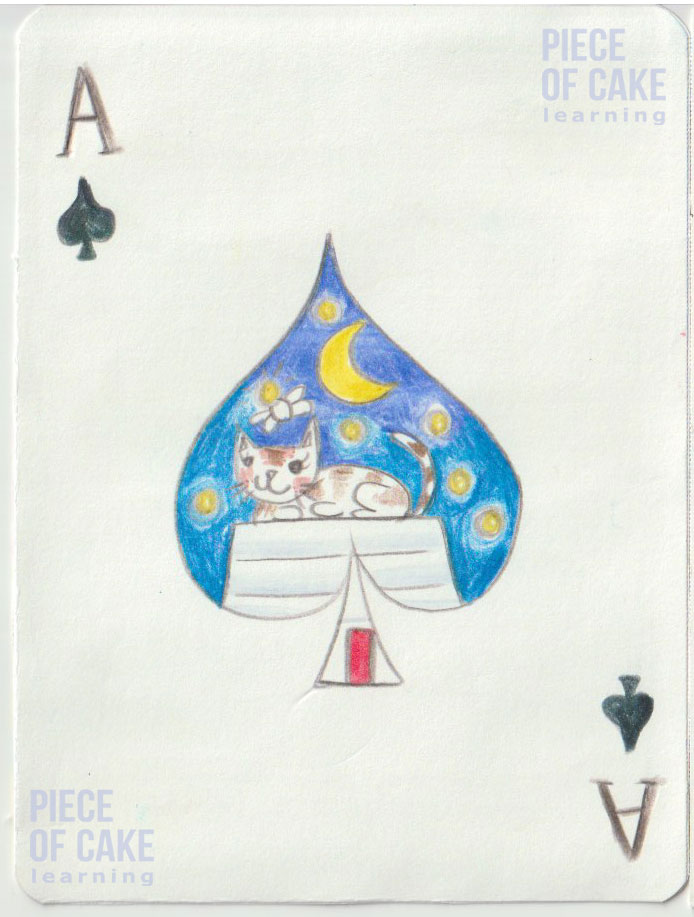
#6. If there is time, draw other characters for each family member. I drew a cat on top of a house for Ace of Spades. The drawing part is a giant Spade.
#7. Once everything is colored and looking nice. Glue the pattern paper using a glue stick. DO NOT USE liquid glue if you can avoid the mess. Too much liquid glue will make the paper wet and ruin the project.
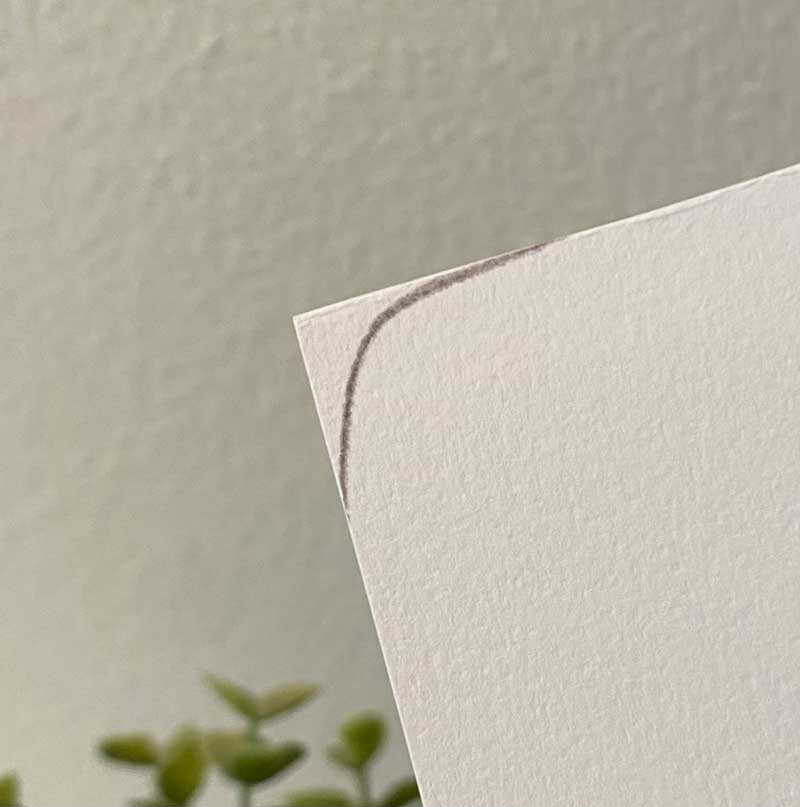
#8. Last but not least, cut the sharp corners for a smooth edge.
There you have it. The family poker cards should look very nice and all the cards should look the same in the back. Be sure to share your projects with me in the social media group! I look forward seeing awesome new ideas!
To print the picture in good quality. Click the top right corner of the picture to print as reference.